Guides
Four short guides for working with a solid wood top. Drawn rather than photographed, because the numbers that matter here — an 1/8″ gap, a 1/4″ corner radius — do not photograph.
Which size to order

Five lengths, three widths
Every top is the same 1-1/2″ solid slab. Only the footprint changes, and the drawing above is to scale — a 6 ft top really is twice a 3 ft one.
25″ deep is the standard counter: a 24″ base cabinet plus a 1″ overhang at the front. 30″ and 36″ are for islands, peninsulas and anywhere people sit at the edge. 39″ exists only in the oversized lane.
Order to the larger of your two wall-to-wall measurements and trim down. Wood you have cut off is a scrap; wood you are short of is a new order.
Measuring & cutting
Leave the top flat in the room for 48–72 hours before you cut anything. Wood moves to match the humidity of the room it will live in, and you want it to finish moving before you size it.
Wall to wall at the front, the middle and the back. Take the smallest figure, then subtract 1/4″ so you have an 1/8″ gap at each end.
Circular saw, fine-tooth blade, against a clamped straight edge. Support both sides of the cut so the offcut cannot drop and tear the last inch out.
A 1/4″ radius on the corners of a sink or hob opening. A square internal corner concentrates stress at a single point, and that is where a crack starts.
Elongated screw holes or Z-clips from underneath. Never glue a solid top to the cabinets — it has to be free to expand across its width.
Oiling & finishing

Oil it before you install it
Do the top, the underside, both ends and every cut edge — including the inside of the sink opening — while the piece is still on trestles and you can reach all of it. A top sealed on one face takes up moisture at different rates top and bottom, and that is what makes it cup.
What to use
Food-safe mineral oil is the simple, forgiving choice: cheap, repairable, and safe on a surface you prepare food on. A hardwax oil gives a harder and more water-resistant surface but is less forgiving to patch — follow the maker's coat schedule rather than this one.
Three coats
Flood the surface, leave it 6–8 hours, wipe the excess off and repeat. Three coats. Excess oil left to sit will stay tacky rather than cure, so the wipe matters as much as the coat.
Then keep it up
Re-oil every 4–6 weeks for the first year, then twice a year. Around a sink, more often — that is where the water is.
Everyday care
Every day
- Wipe spills promptly — wine, citrus and cooking oil stain fastest.
- Never leave standing water, especially at the sink edge and around tap cut-outs.
- Use a board for cutting and trivets for hot pans. Heat marks are avoidable; they are not repairable without sanding.
- Clean with mild soap and a damp cloth — damp, not soaking.
Fixing a mark
Sand a scratch, scorch or stain out with 180 grit, feather the edges so there is no step, and re-oil that patch. It blends in within a coat or two.
This is the advantage of a solid slab over a veneer: it is 1-1/2″ of the same wood all the way down, so you can do this for twenty years without ever reaching a different material.
What not to use
No bleach, no ammonia, no abrasive cream, and nothing that lives in a dishwasher. They strip the oil and raise the grain.
Download the care guide (PDF) — print it and keep it with your top.
Hevea or acacia?
Both are 1-1/2″ solid slab and both take the same oil. The difference is the grain — drag the handle to see the same kitchen in each.

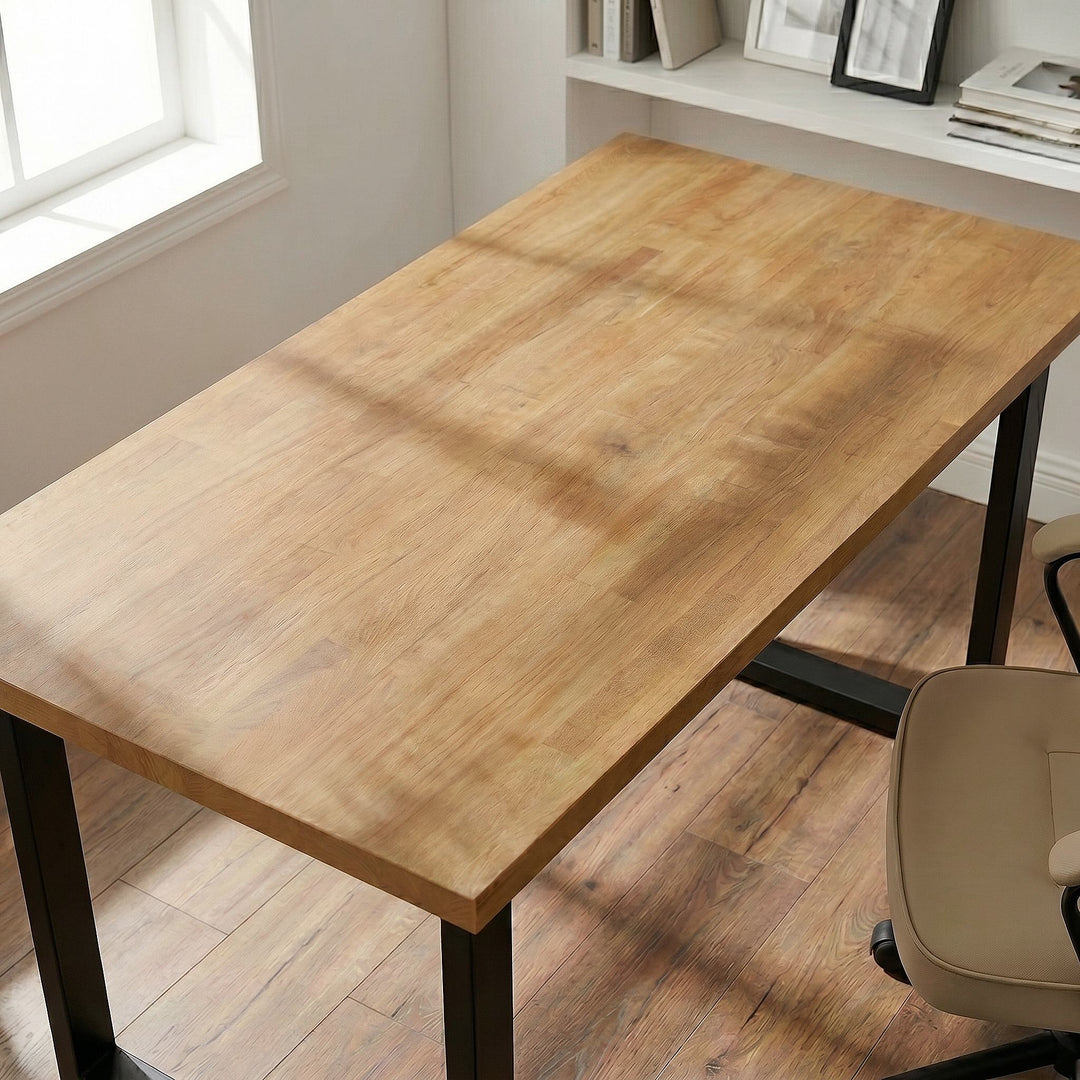
Hevea — the even one
Light, consistent grain that takes any stain. A second harvest after the latex years. The workhorse for painted and light-finish kitchens.
Acacia — the characterful one
Rich, contrasting grain with natural movement, from plantation-grown acacia. A statement surface for islands and feature counters.